Southern Spice Homestyle Delights
Wedding Cake Recipe Guide: Bake a Beautiful Cake for Your Big Day
Get inspired to bake a beautiful wedding cake from scratch with our Wedding Cake Recipe Guide, designed for beginners and seasoned bakers alike.
RECIPES & COOKING
Shari Smith
5/12/202517 min read
This post may contain affiliate links, and I may earn a commission if you choose to make a purchase through them.
Picture a warm kitchen filled with laughter, flour-dusted aprons, and the sweet smell of vanilla.
For couples planning their wedding, making your own wedding cake brings a sense of pride and togetherness that no store-bought option can match.
Each layer becomes a memory, every swirl of frosting another shared moment.
There's real joy in knowing your wedding cake recipe tells your story—baked by your hands, enjoyed with your loved ones.
This guide covers everything needed to bake a beautiful, delicious wedding cake recipe, from choosing flavors to decorating the final tier.
Get ready to create a centerpiece that tastes as wonderful as the memories you'll make.
Choosing the Perfect Wedding Cake Style and Flavor
Designing a wedding cake recipe is part celebration, part reflection of your love story.
The style and flavor you pick set the tone for your reception and add a personal touch that guests remember.
Let your cake mirror your personality, the vibe of your big day, and the flavors that mean something to you both.
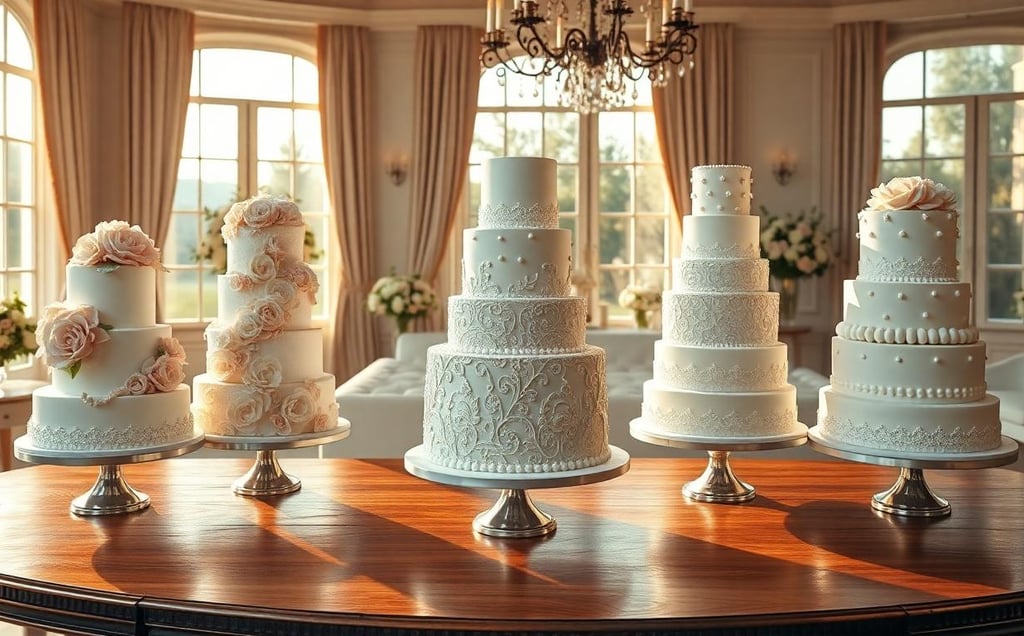
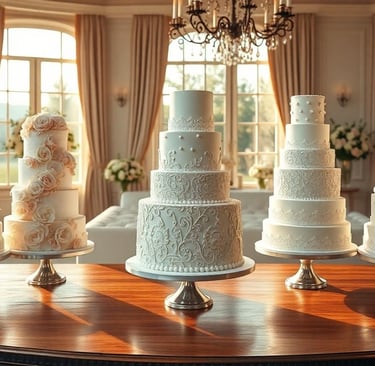
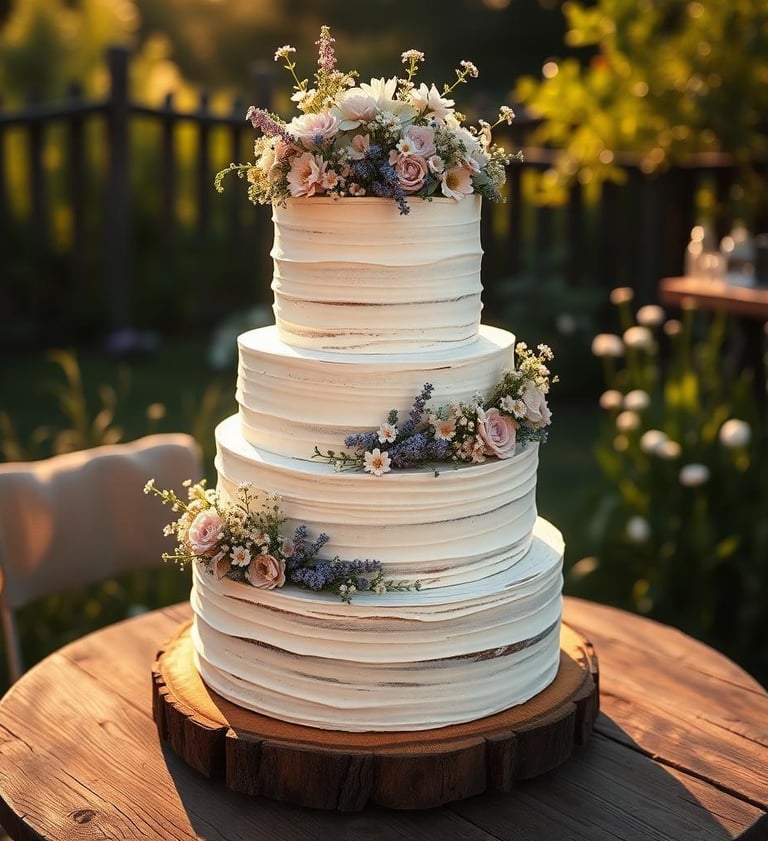
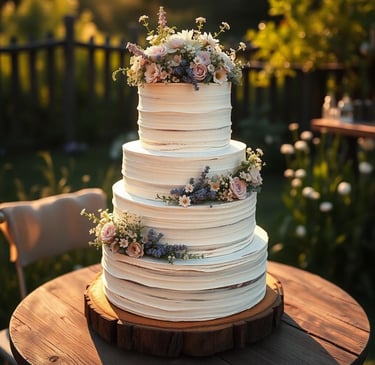
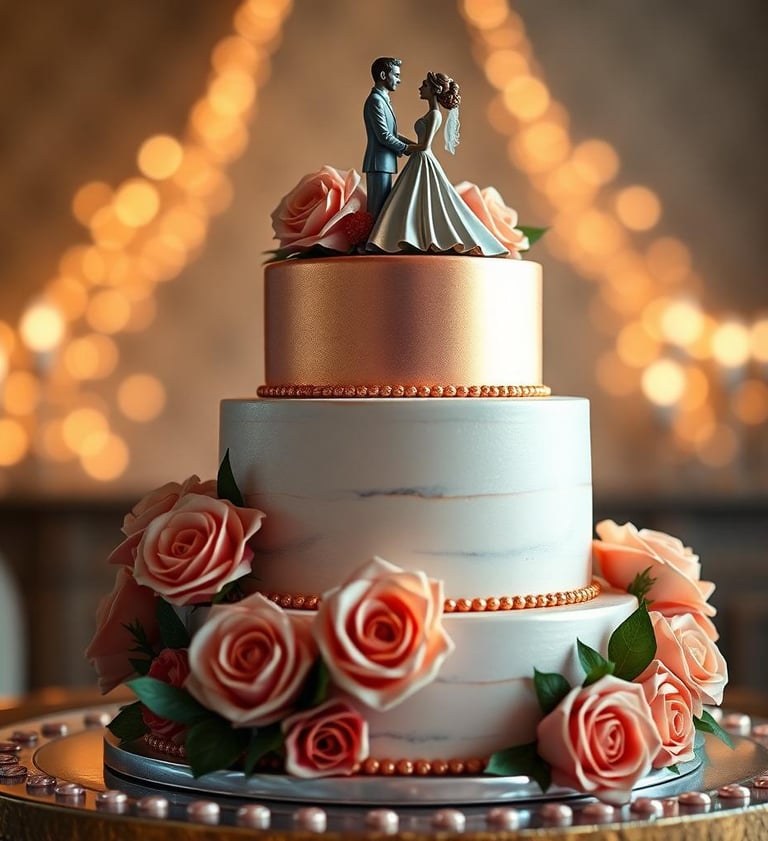
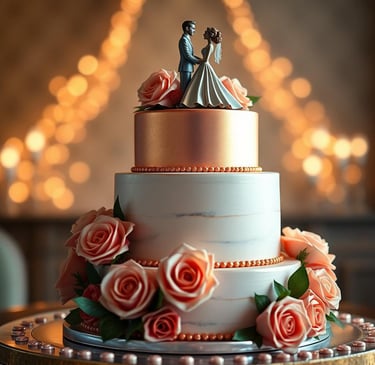
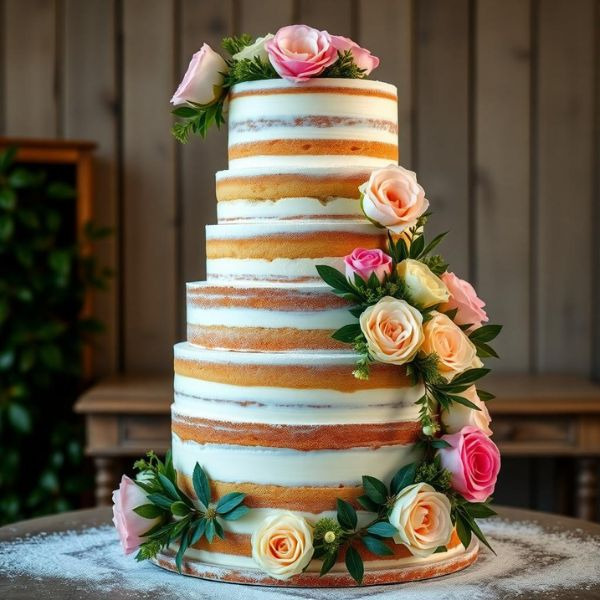
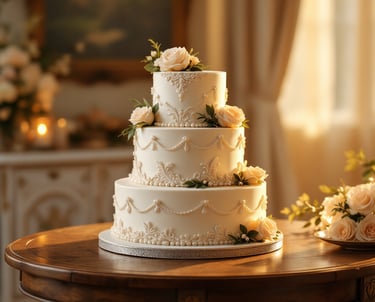
Classic, Rustic, Modern, Naked, or Floral: Find Your Cake Style
Wedding cakes are more than dessert—they can be showstoppers that draw every eye. Each style brings its own charm and fits a different couple’s vision.
Classic
Think smooth white fondant, tiered perfection, and subtle piping. This looks elegant at black-tie receptions and never goes out of style.
Rustic
Naked or semi-naked layers showcase golden sponge and creamy frosting, often adorned with fresh berries or wildflowers. Perfect for a barn or garden wedding.
Modern
Clean lines, shiny colors, and unexpected décor like metallic details. Ideal for couples who want something fresh and on-trend.
Naked
No outer frosting hides the layers. Instead, you get a glimpse of texture and creamy filling. Add powdered sugar or florals for a soft, romantic look.

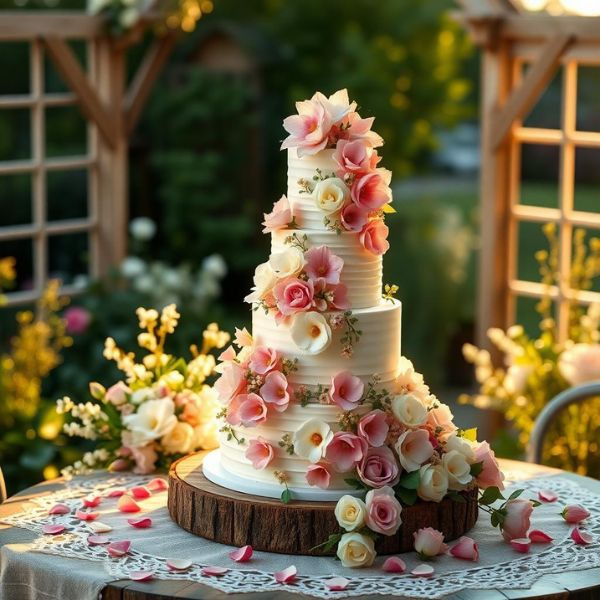
Floral
Buttercream blooms, fresh flowers, or hand-painted petals. Floral cakes celebrate nature and add pops of color—great for spring and summer.

When you picture your big day, imagine where the cake will stand. Will it fit the scenery and complement your décor? Use that vision to guide your choice.
Popular Flavors for Every Palate
Once you have the look nailed down, turn your focus to the inside. Your wedding cake recipe is only as memorable as its flavor.
Classic combinations are always a hit, but you can also mix things up. Here are a few favorites:
Vanilla bean: Light, fragrant, and loved by everyone.
Chocolate fudge: Rich and indulgent, with deep cocoa notes.
Lemon: Bright and tangy, a great pick for warm-weather weddings.
Red velvet: Subtle cocoa and a hint of tang, usually paired with cream cheese frosting.
Carrot: Moist and a little spiced, often topped with a buttery or cream cheese layer.
Almond: Delicate and aromatic, pairing well with fruit or chocolate.
Pairing Cake and Filling Flavors
What goes inside your cake matters just as much as the cake itself.
The right pairing brings out the best in both the cake and the filling.
Here are some ideas to match with your wedding cake recipe:
Vanilla cake with raspberry or strawberry preserves for a sweet surprise.
Chocolate cake with salted caramel or espresso buttercream for depth.
Lemon cake with elderflower or blueberry curd for a fresh twist.
Almond cake with apricot jam or chocolate ganache for contrast.
Red velvet with vanilla or orange-scented cream cheese for a zingy finish.
Think of your cake flavors as a handshake between the couple’s tastes. You can even select a different flavor for each tier if you want something for everyone.
Matching the Cake Recipe to Your Story
A wedding cake isn’t just about looks and flavors.
Reflect on flavors from childhood, your first dessert together, or ingredients that tie into your family heritage.
Maybe one of you loves chocolate, while the other prefers citrus—meet in the middle or alternate layers.
The cake you bake should taste like you, not just look pretty in photos.
Let your wedding cake recipe be a sweet starting point for your new chapter, offering a slice of your story to each guest who shares your day.
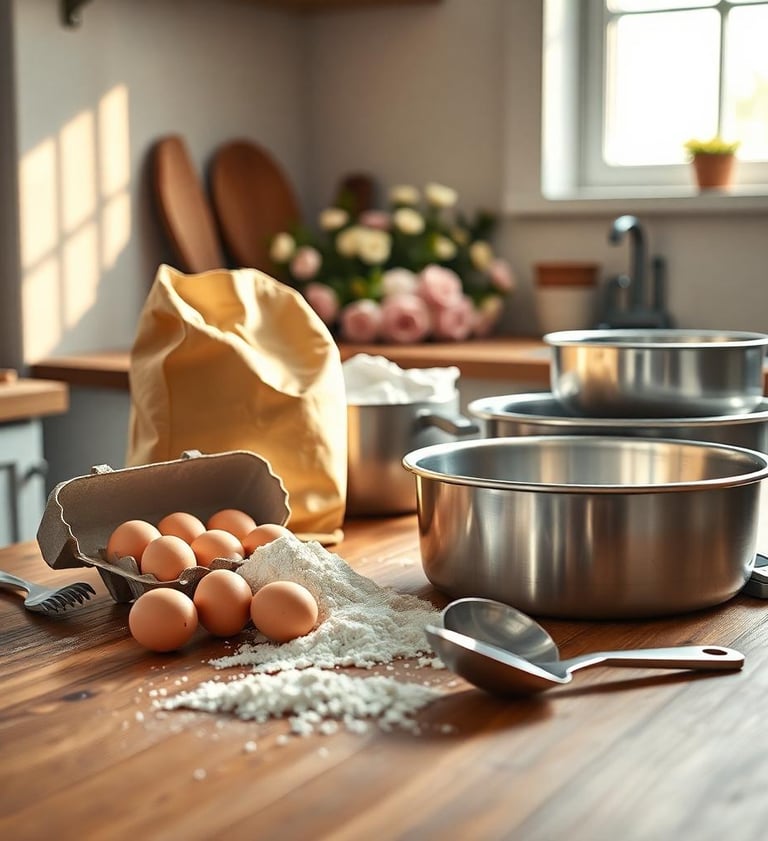
Gathering Ingredients and Essential Tools
Before you even preheat the oven, a little planning saves time and stress.
The right ingredients and solid tools are the backbone of any wedding cake recipe.
Fresh eggs, high-quality flour, and precise cake pans can mean the difference between a show-stopping centerpiece and a cake fail.
With your grocery list in hand and utensils ready, baking feels less like a chore and more like an exciting start to your big day.

Must-Have Ingredients for a Wedding Cake Recipe
A great wedding cake starts with simple, reliable basics. Whether you choose vanilla, chocolate, or a blend of bold flavors, these are the non-negotiables for a classic cake that stands tall and slices clean.
Stock up on these:
All-purpose flour – King Arthur or Bob’s Red Mill are trusted names for consistent results.
Granulated sugar – Domino and C&H offer pure sweetness without aftertaste.
Unsalted butter – Go for higher-fat European butters like Plugrá or Kerrygold for richer flavor.
Eggs – Always use large, fresh eggs; local farm eggs bring extra richness.
Baking powder and baking soda – For the right lift. Double-check that they’re fresh.
Whole milk or buttermilk – Adds tenderness and helps the crumb stay moist.
Salt – It sharpens flavors and brings out sweetness.
Pure vanilla extract – Nielsen-Massey or Simply Organic for deep aroma.
For fillings and frostings, you’ll need:
Powdered sugar – Baker’s Corner or Wholesome brands blend smoothly.
Cream cheese or mascarpone – Adds tang and richness, especially in frostings.
Heavy cream – Whips up smooth buttercream or whipped toppings.
Flavorings and extracts – Almond, lemon, or orange for added personality.
If you’re customizing, gather extras:
Shaved chocolate or cocoa powder (for chocolate layers or frostings)
Almond flour (for nutty cakes)
Fresh berries or jams (for fruit fillings)
Zest from lemons or oranges (for a burst of citrus)
Edible flowers or colorful sprinkles (for finishing touches)
Recommended Brands for Best Results
Using well-known brands can ease nerves, especially when baking for a crowd.
Stick with tried-and-true options:
Flour: King Arthur, Bob’s Red Mill
Butter: Plugrá, Kerrygold, Land O’Lakes
Sugars: Domino, C&H, Wholesome
Vanilla: Nielsen-Massey, Simply Organic
Bakeware: Wilton, Fat Daddio’s
If shopping local, ask your baker or grocer for their favorites. Some small brands offer surprisingly great results.
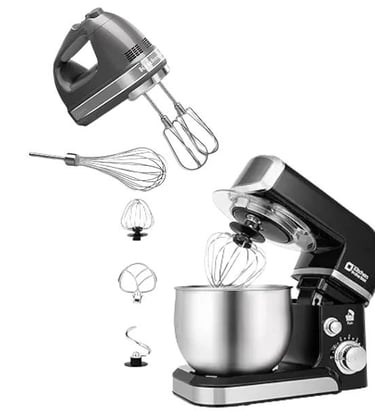
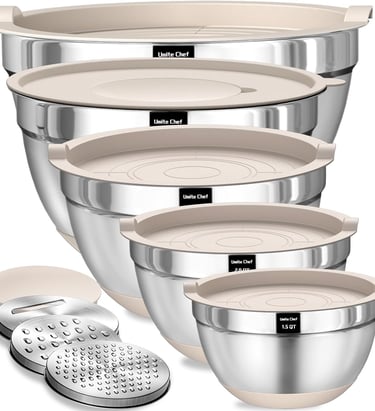
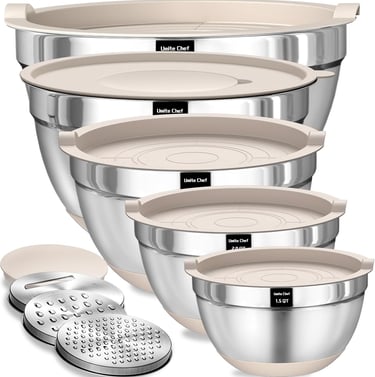
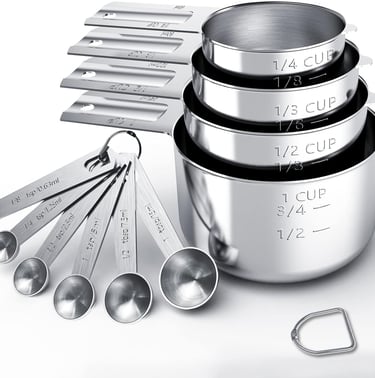
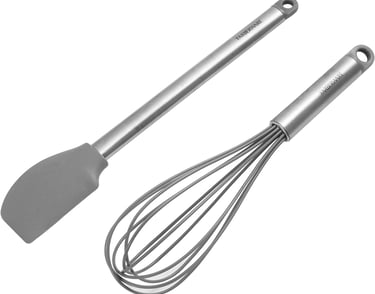
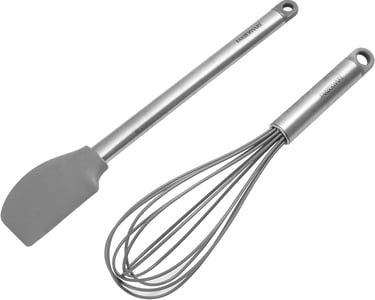
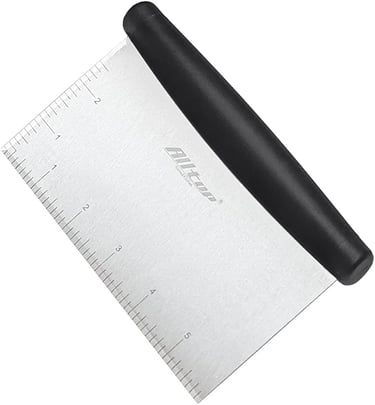
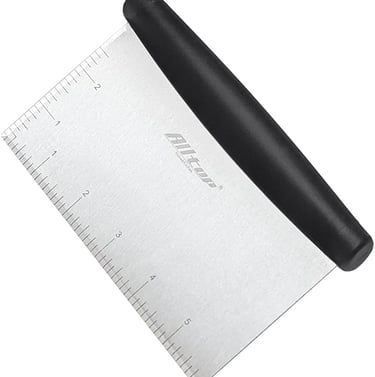
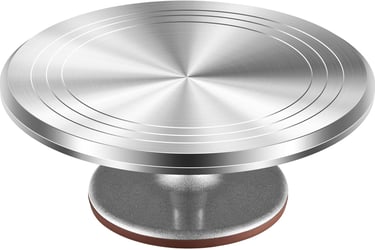
Baking Tools Every Home Baker Needs
Having the right gear turns a home kitchen into a wedding cake bakery. These essentials help your cake come together smoothly and look polished.
You’ll need:
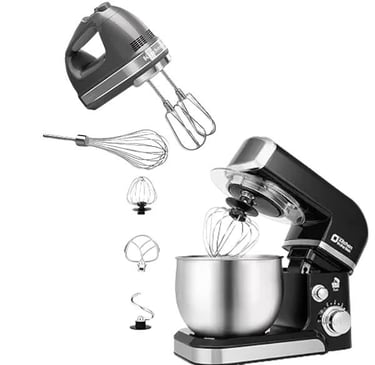
Stand mixer or hand mixer
– A sturdy mixer saves sore arms and delivers fluffier batters.
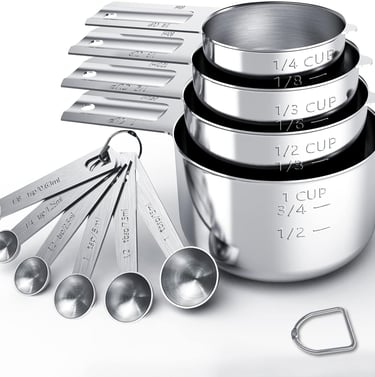
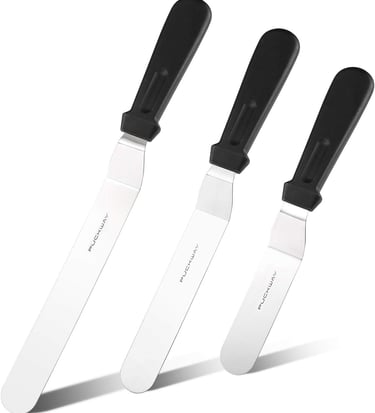
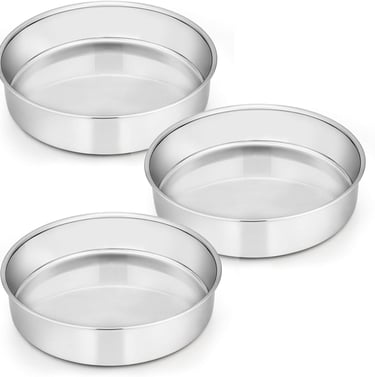
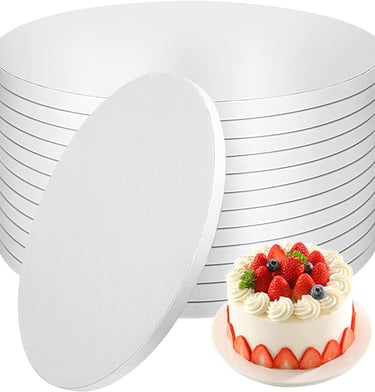
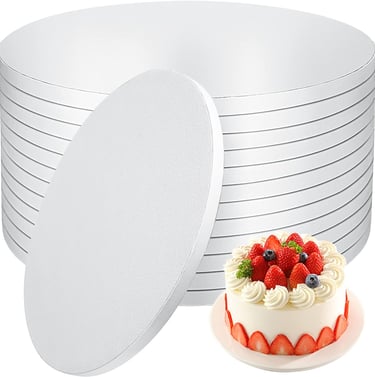
Cake pans
– Heavy, straight-sided pans in 6-, 8-, and 10-inch sizes; Wilton and Fat Daddio’s both hold up well.
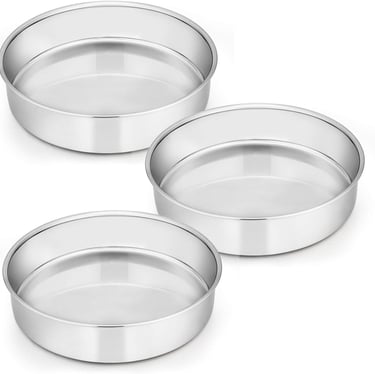
For layered wedding cakes, add:
If you plan to personalize your cake, extras like piping bags, decorative tips, and silicone molds offer endless options.
Special Add-Ins for Signature Flavors
Your wedding cake recipe can be anything but basic. Try these favorites to make your cake stand out:
Espresso powder in chocolate cake for a mocha punch.
Chopped nuts for crunch in carrot or almond cakes.
Liqueurs like Grand Marnier, Amaretto, or Kahlua in the syrup or filling.
Extracts and pastes—rose, pistachio, or coconut for a playful twist.
Natural food gel colors for batters and icing that pop without artificial aftertaste.
Get creative with what you love but don’t overdo it—one bold addition per layer usually works best.
Nailing this part of your wedding cake recipe brings peace of mind and sets you up for success.
Each bowl, spoon, and stick of butter is a stepping stone toward the sweet centerpiece of your celebration.
Step-By-Step Wedding Cake Recipe
Rolling up your sleeves and baking a wedding cake brings a feeling of accomplishment you can’t find in any bakery box.
This step-by-step wedding cake recipe covers everything needed to bake, fill, and stack a three-tier masterpiece that truly shines on your big day.
With clear directions and helpful tips, you'll get a cake that stands tall, tastes amazing, and holds up when it counts.

Ingredients for a Classic Vanilla Wedding Cake
For a three-tier cake (10-inch, 8-inch, and 6-inch round tiers), which serves around 75 guests, gather these ingredients:
For the Cake Layers:
12 ¾ cups (1.5 kg) all-purpose flour, sifted
9 cups (1.8 kg) granulated sugar
2 tbsp baking powder
3 ¼ tsp fine salt
4 ½ cups (1.05 kg) unsalted butter, room temperature
18 large eggs, room temperature
6 cups (1.4 L) whole milk, room temperature
6 tbsp pure vanilla extract
For the Buttercream Frosting:
4 lbs (1.8 kg) unsalted butter, room temperature
16 cups (2 kg) powdered sugar, sifted
1 cup (240 ml) whole milk or heavy cream
4 tbsp pure vanilla extract
Pinch of salt
Classic Fillings (choose any or mix and match):
2 lbs (900 g) seedless raspberry or strawberry jam
2 lbs (900 g) lemon curd or chocolate ganache
Optional add-ins:
Zest from 2 lemons (for citrus notes)
Almond extract (swap in up to 3 tbsp for a nutty flavor)
Preparing and Baking the Cake Layers
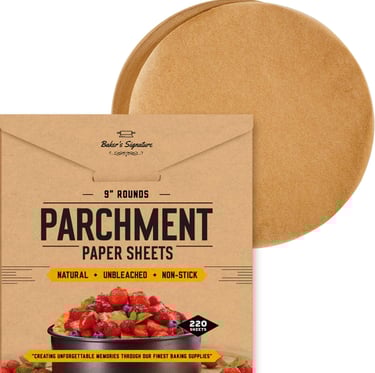
For a smooth bake with no hiccups, set your oven racks in the center. Preheat the oven to 350°F (175°C). Grease each cake pan well, line with parchment, and lightly flour.
Mix Dry Ingredients: In a very large bowl, whisk together flour, baking powder, and salt. Set aside.
Cream Butter and Sugar: In a stand mixer (work in batches if needed), beat the butter until pale and fluffy. Add the sugar in a steady stream and mix for about 4 minutes until light and creamy.
Add Eggs: On medium speed, add eggs one at a time. Wait until each is mixed in before adding the next. Scrape the bowl as needed.
Combine Wet Ingredients: In a separate bowl, stir milk with vanilla. Reduce the mixer to low and alternate adding the dry mixture and the milk mixture, starting and ending with flour. Scrape down the bowl between additions.
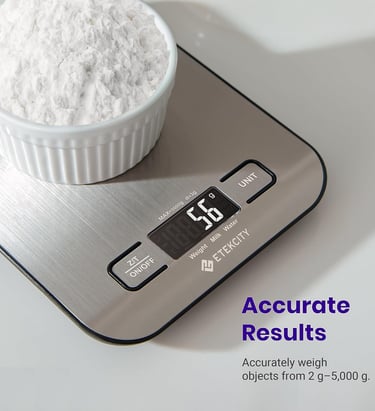
Divide the Batter: Weigh or carefully measure and pour batter into your prepared pans: about 8 cups per 10-inch pan, 5 cups per 8-inch pan, and 3 cups per 6-inch pan.
Bake: Bake all pans together if your oven fits, checking the smallest first. 6-inch layers take 25-30 minutes, 8-inch about 35-40, and 10-inch about 45-50. Look for golden edges and a toothpick coming out clean.
Cool: Let cakes cool in pans 15 minutes, then turn onto racks. Peel off parchment and cool completely (at least 2 hours).
Tips to Keep Cakes Moist:
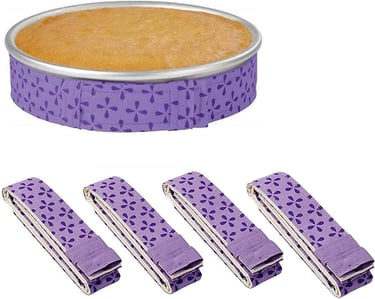
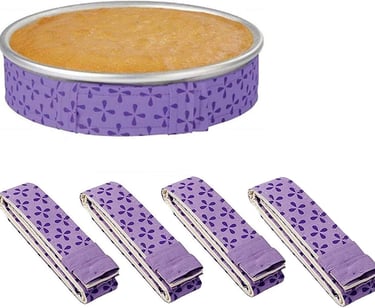
Use cake strips around pans to promote even baking.
Don’t overbake—check with a toothpick just before you think it’s done.
Wrap cooled layers in plastic if assembling the next day.
Making Silky Buttercream and Classic Fillings
A wedding cake recipe needs buttercream that spreads smooth, pipes clean, and stays put even on a warm day. Here’s how to make yours flawless.
Basic Buttercream:
Beat butter until light—about 5 minutes.
Add powdered sugar a cup at a time, beating well after each.
Pour in milk and vanilla, starting slow then increasing speed for 3 minutes.
Add salt and beat until fluffy and smooth.
Easy Swaps for Dietary Needs:
Use dairy-free butter and plant milk for a vegan frosting.
Try gluten-free flour blends for the cake base.
Use fruit preserves or dairy-free fillings for guests with allergies.
Flavor Variations:
For chocolate, replace 2 cups powdered sugar with 2 cups cocoa powder.
Add freeze-dried berry powder, citrus zest, or almond extract for custom buttercream.
Classic Fillings:
Use room temperature fruit jams for tang and color.
Lemon curd or chocolate ganache adds richness.
For a simple cream filling, whip heavy cream with a little vanilla and powder sugar.
Spread fillings evenly for a smooth slice and no bulges.
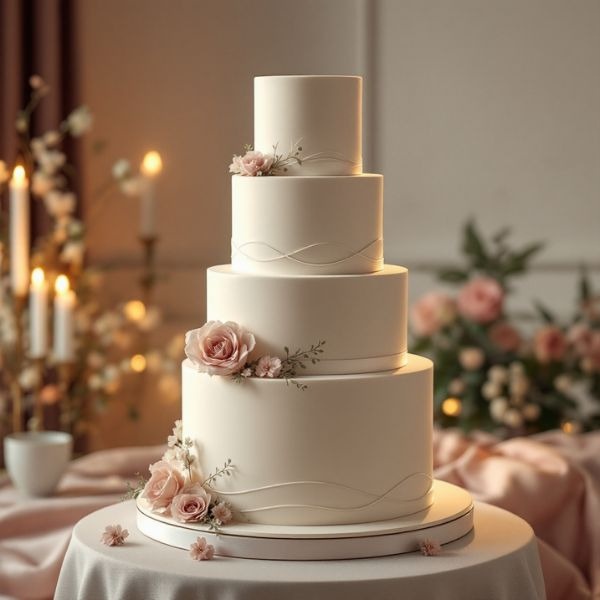
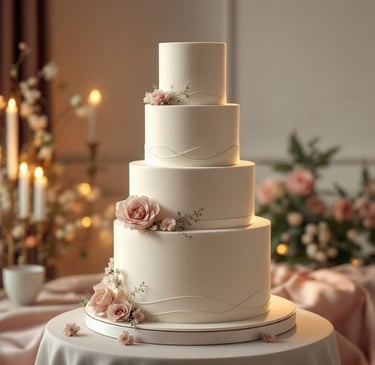
Stacking and Assembling the Wedding Cake
Assembling a wedding cake calls for slow hands and patience. Follow these key steps for a sturdy, straight stack.
Trim and Level: Level each cooled cake layer with a serrated knife or cake leveler. Remove the brown top for smooth, flat stacking.
Layer and Fill: Place the bottom layer (largest tier) on a sturdy cake board. Pipe a buttercream dam around the edge, then add your chosen filling in the center. Stack the next layer gently and repeat.
Crumb Coat: Spread a thin layer of buttercream over the whole cake to catch crumbs. Chill each tier in the fridge for 30 minutes so the coat sets.
Final Frost and Stack: Apply a final, smooth layer of buttercream. Use a bench scraper for sharp edges. Chill again before moving on.
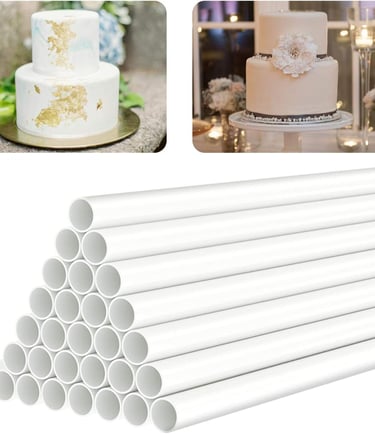
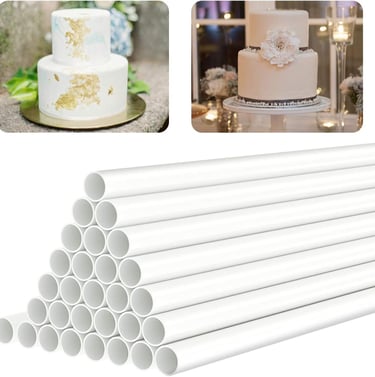
Secure Each Tier: Insert 4-5 dowel rods or straws into the bottom tier before stacking the next cake layer on its own cake board. This keeps everything stable.
Stack Carefully: Center each smaller tier carefully on the larger one. Press down lightly until stable.
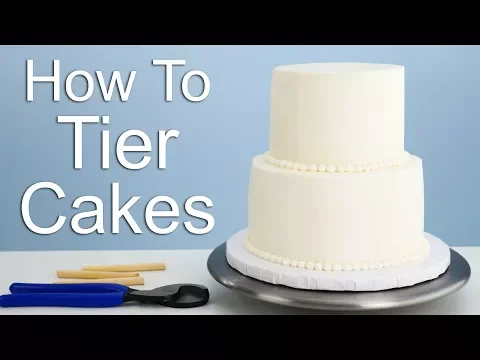
The EASIEST way to Tier a Cake!
Watch Video...
Pro Tips for Tidy Layers:
Chill layers between steps to avoid melting or sliding.
Save the best-looking cakes for the top, where all eyes land.
Don’t skimp on dowels—more support is always better.
Clean your spatula often for a flawless finish.
Avoiding Common Mistakes:
Don’t frost warm cakes—they’ll melt the buttercream.
Resist over-filling layers to avoid lopsided tiers.
Take your time. Rushing leads to crooked cakes.
With these steps, your wedding cake recipe comes to life, one even, luscious tier at a time. Each slice carries the taste of celebration and care, ready for your guests to enjoy.
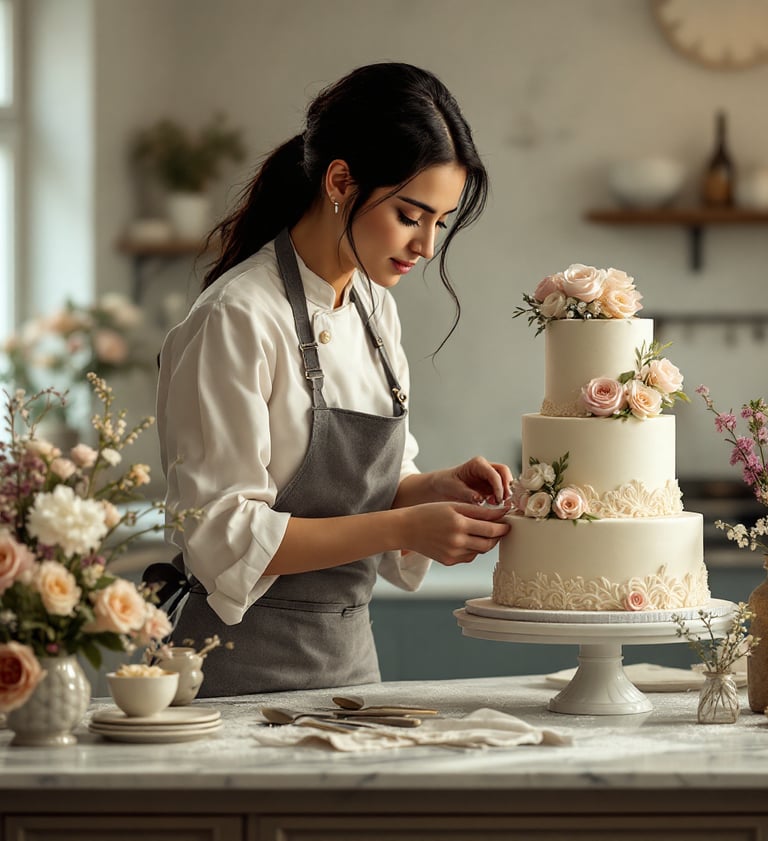
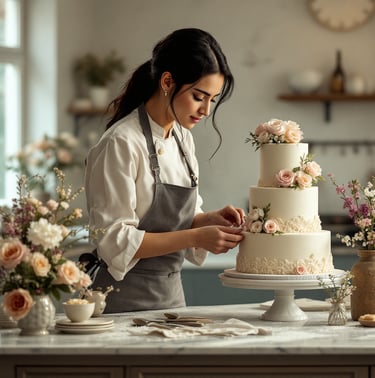
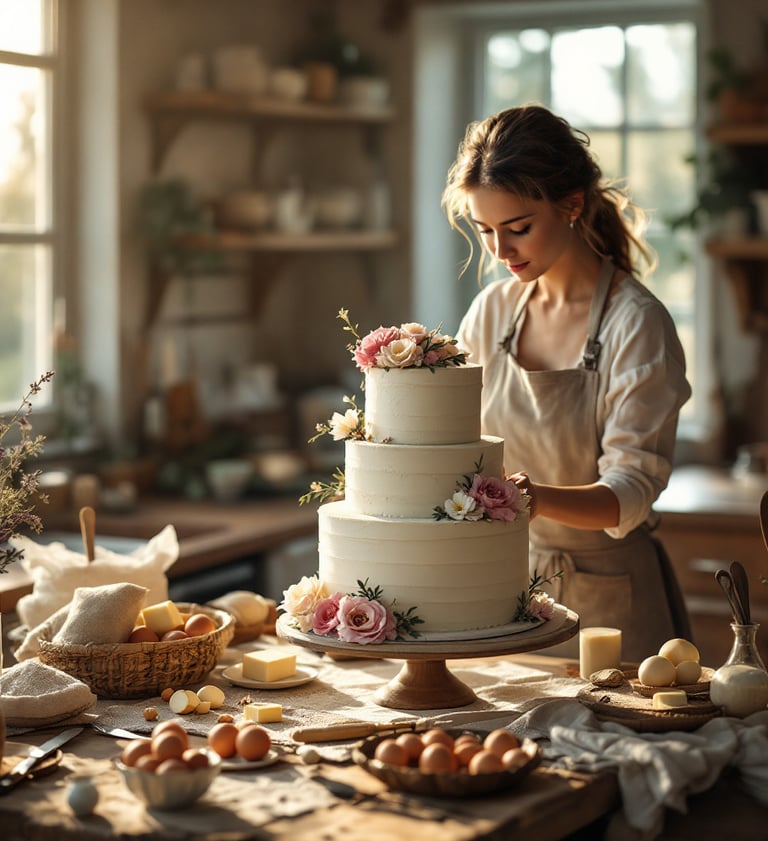
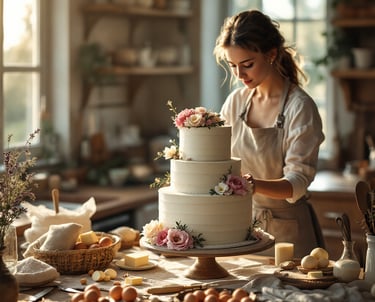
Decorating Your Wedding Cake with Style
A homemade wedding cake recipe deserves a finish worthy of any bakery.
The way you decorate can turn a simple cake into a showpiece, tying it back to your wedding theme and your unique story.
Even if you’re new to baking, you can skip the stress and still end up with a cake that looks polished and personal.
With a few classic techniques and thoughtful details, your wedding cake becomes both delicious and beautiful.
Smooth Buttercream That Looks Professional
A flawless buttercream finish sets the stage for any decoration. Start by applying a crumb coat—a very thin, smooth layer of buttercream to lock in stray crumbs. Chill the cake, then add a second, thicker coat.
For a sharp, clean look:
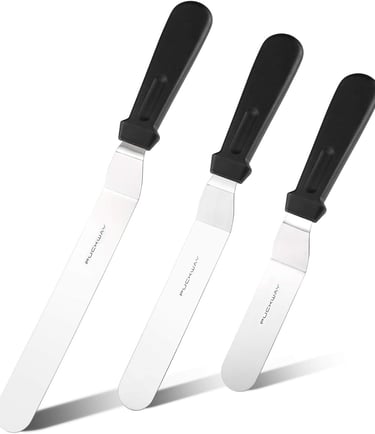
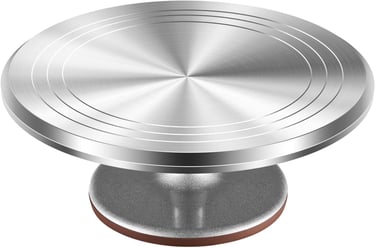
Use an offset spatula and a bench scraper. Turn the cake slowly on a rotating stand while smoothing the sides.
Dip your scraper or spatula in hot water and wipe dry before each sweep. The gentle heat polishes the buttercream, like smoothing out sand with a beach shovel.
To add extra shine, let the frosted cake chill, then gently press a clean piece of parchment against the sides and peel away.
Simple patterns are easy to master. Try gentle waves, horizontal ridges, or vertical lines with the back of a spoon or a small spatula.
These little touches make a homemade cake look intentionally designed.
Piping for Elegant Designs
Piping is the magic wand for home bakers. With a piping bag and a few basic tips, you can add elegant borders, rosettes, or dots—no art degree needed.
For DIY decorators, stick to these:
Pearl borders: Pipe small dots around each tier’s base for a classic finish.
Rosettes: Swirl buttercream flowers along the edges in your wedding colors.
Ribbons and shells: Use a star tip for vintage-style trims.
Personal monogram: Pipe your initials or a special date, then scatter with tiny edible pearls.
If you’re unsure, practice on parchment first. Even a simple piped border creates a bakery vibe and keeps the cake looking tidy.

I made my WEDDING CAKE for $100 with No Experience
Watch Video...
Edible Flowers and Fresh Florals
Flowers turn any wedding cake recipe into a work of art. Choose safe, edible blooms like pansies, violets, roses, calendula, or nasturtiums.
Just be sure they’re unsprayed and pesticide-free.
To add flowers without worry:
Gently wash and dry your chosen blooms.
Snip stems short and wrap the ends in floral tape or place a small barrier like wax paper between the flowers and the cake.
Arrange in small clusters, winding up the side or crowning the top. A little goes a long way; aim for balance, not overload.
Combine with greenery, like mint or thyme sprigs, for extra texture.
Never place non-edible or toxic flowers directly on the cake. If in doubt, choose edible dried petals or skip fresh flowers for fondant or buttercream blossoms instead.
Decor that Fits Your Wedding Theme
Your wedding cake recipe can showcase your story with details that match the big day. Personal touches should feel meaningful, not forced.
Easy ways to match your cake to your theme:
Rustic weddings: Add clusters of berries, sugared fruit, or a dusting of powdered sugar. Burlap ribbon or twine around the base adds a homey touch.
Garden or boho weddings: Styling with edible flowers, loose petals, or herbs brings in fresh, natural colors.
Modern or minimalist: Use smooth, white buttercream with a single statement flower or metallic leaf. A thin ribbon in a match-your-wedding shade is timeless.
Vintage vibes: Try lace-motif piping, strings of edible pearls, or hand-painted details.
If you want to share a piece of your personality, add a heartfelt cake topper. This could be your pet, a nod to your shared hobby, or a custom-made figurine.
Safe, Tasty, and Photo-Ready
Decorating your wedding cake recipe isn’t just about looks; safety matters—especially if you’re handling it yourself.
Quick safety tips:
Only use food-safe decorations—never insert wires, plastic, or inedible supports without a barrier in between.
If using fondant decorations, handle them with gloves and place them only once the cake is fully chilled.
Store decorated cakes in a cool space, away from strong smells (like onions or garlic) that can transfer to the icing.
Keep your decorations simple, sweet, and edible wherever possible. In the end, a cake that’s both personal and safe will be the highlight of your celebration.
Even with basic skills, you can use these wedding cake decorating ideas to create a stunning finish.
Focus on details, work with what you love, and watch as your homemade wedding cake recipe transforms into a centerpiece that's all your own.
Tips for Baking Success and Serving on the Big Day
All your planning and prep work pays off when the big day arrives.
The difference between a celebration centerpiece and a last-minute scramble often comes down to smart habits, a calm timeline, and a handful of tricks in your back pocket.
The right steps keep your wedding cake recipe looking (and tasting) as lovely as the day you dreamed of.
Build a Realistic Baking Timeline
Breaking up the work makes your wedding cake recipe much less stressful. Think of the whole week as your baking runway; spacing out each step means you won’t feel the pressure all at once.
Here’s a real timeline that home bakers can trust:
Five Days Before the Wedding
Double-check all your ingredients and tools.
Clear space in your fridge and freezer.
Prep any décor that can be made ahead (fondant pieces, sugar flowers).
Three to Four Days Before
Bake cake layers.
Once cooled, wrap each layer tightly in plastic and refrigerate or freeze.
If freezing, let layers thaw overnight in the fridge before filling.
Two Days Before
Make buttercream and fillings. Keep them in airtight containers in the fridge.
If using fresh flowers, clean and store them in a cool spot.
One Day Before
Level cakes, fill, and stack each tier. Apply a crumb coat to lock in crumbs.
Chill assembled tiers in the fridge for at least 1 hour between steps.
The Night Before or Morning Of
Finish final frosting and decorating.
Store the finished cake in a bakery box or large airtight container in the fridge.
This plan builds in buffer time. Each step gets its own breathing room, so you don’t have to stay up past midnight, running on eggshells.
Storing Your Wedding Cake to Keep It Fresh
Freshness counts. A wedding cake recipe stands out when each bite is moist and flavorful—not dry or stale.
Keep unfrosted layers wrapped in plastic, then stack in airtight containers.
Only frost chilled or slightly cool cakes; this keeps crumbs out of your icing.
After decorating, loosely tent the cake with plastic or store it in a tall bakery box in your fridge. This shields it from odors and excess moisture.
For buttercream cakes, a cool (not icy) fridge is best.
Keep the cake on the top shelf where temperatures stay steady. Avoid uncovered chilling—open air dries out frosting and makes colors dull.
How to Transport the Cake Safely
Moving your homemade wedding cake recipe is a nerve-wracking moment—but it doesn’t have to be.
The trick is to plan ahead and deliver each tier with care.
Chill fully before moving the cake. Cold cakes are sturdy cakes.
Transport each tier separately in its own box, then stack at the venue.
Place each box on a non-slip mat in your car, flat on the floor of the trunk or back seat.
Drive slow, avoid sharp turns, and park close to the entrance for a quick handoff.
Bring a small repair kit: extra buttercream, spatula, disposable gloves, and any finishing flowers or touches.
It’s like packing a parachute—you might not need it, but you’ll be glad it’s there.
Decor that Fits Your Wedding Troubleshooting Common Baking Problems
Even the most careful wedding cake recipe can hit a snag. Home bakers know that quick thinking saves the day when things go sideways.
Some common bumps, and how to fix them:
Cake layers sink or crack: Check your oven temp with a thermometer. Underbaking leaves centers gooey, while overmixing knocks out air. Trim gently and use extra frosting to fill gaps.
Buttercream too runny or stiff: If the buttercream is runny, chill it for 10 minutes, then whip again. If too firm, let it warm up on the counter or add small splashes of milk and continue mixing.
Cakes stick to pans: Always line pans with parchment and grease well. If stuck, run a thin knife around the edge, then gently invert.
Crumbs in your frosting: Apply a thin crumb coat first, then chill for half an hour before adding a final, thick coat.
Wonky or tilted tiers: Level each cake carefully. Use enough dowels for support, and don’t add heavy décor until the cake is fully chilled.
If something unexpected happens, don’t panic.
Most mistakes are fixable with some patience and extra frosting.
Sometimes, a flower or extra swirl can cover a mishap no one will notice.
Slicing and Serving Made Simple
Cutting into your wedding cake recipe is a moment you’ll never forget. Make it easy for the person serving (even if it’s a family friend).
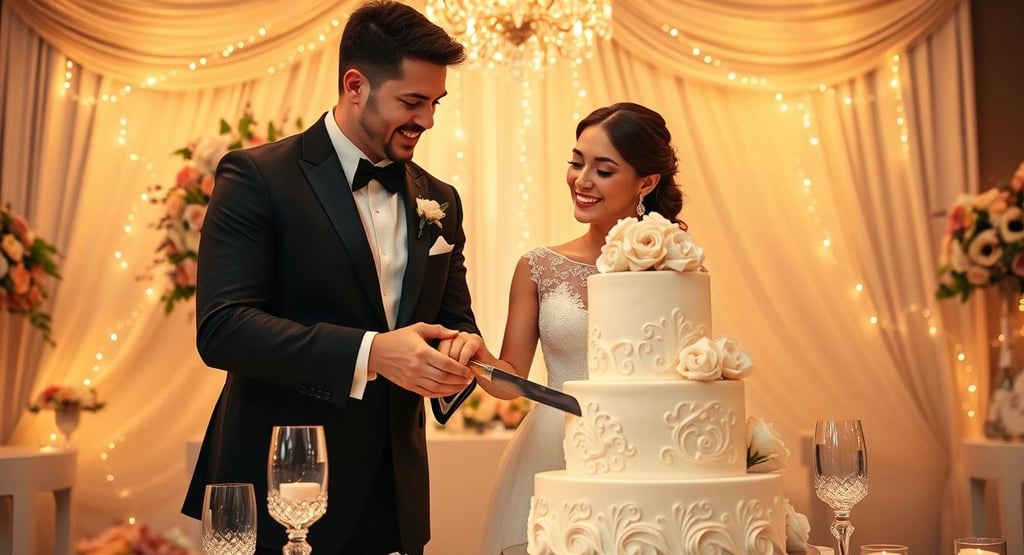
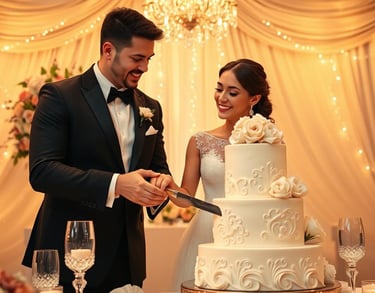
Use a long, sharp serrated knife for clean slices.
Wipe the blade with a warm, damp towel between cuts to keep slices neat.
For stacked cakes, remove dowels and boards as you go.
Start by slicing a circle two inches in from the edge, then cut slices about one inch wide.
Have plenty of napkins handy and serve onto chilled plates for the best texture in each bite.
Share a few smaller “kitchen slices” from scraps and trimmings—sometimes, these bits are the best reward for all your hard work.
With these tips, your wedding cake recipe will shine. The day you serve it, you’ll be ready for smiles, photos, and a room full of happy people savoring a labor of love.
Conclusion
Baking your own wedding cake recipe turns wedding planning into a memorable and joyful milestone.
Each step, from mixing the first batch to sharing the final slice, adds another layer to your story as a couple.
The process invites laughter, learning, and those quiet kitchen moments that soon become cherished memories.
With the right recipe, some patience, and a pinch of creativity, anyone can create a homemade centerpiece that feels deeply personal.
Celebrate your big day with a cake that’s truly yours—every flavor, flower, and frosting swipe reflecting what matters most to you both.
Let your wedding cake recipe be more than dessert. Let it honor your story, fill your home with warmth, and carry sweet memories into your life together.
If you try this recipe, share your photos or favorite twists—your journey may inspire others to start their own tradition. Thank you for reading, and here’s to love, cake, and new beginnings.
Southern Spice Homestyle Delights © 2025. All rights reserved.
Address
Rayville, La 71269
Want more from Southern Spice?


Get recipes, cooking inspiration, and exclusive information right to your inbox!
Categories