Southern Spice Homestyle Delights
How to Bake the Perfect Hawaiian Carrot-Pineapple Cake Every Time
Want a dessert everyone will remember? Learn how to make a Hawaiian Carrot-Pineapple Cake that’s moist, flavorful, and foolproof.
RECIPES & COOKING
Shari Smith
4/5/20258 min read
This post may contain affiliate links, and I may earn a commission if you choose to make a purchase through them.
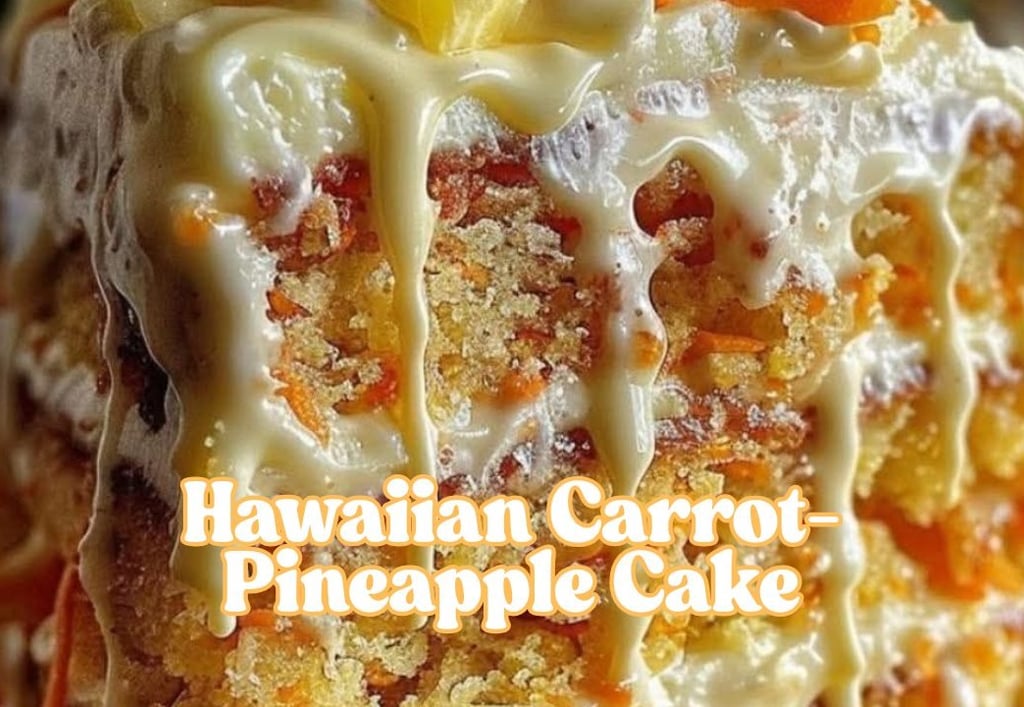
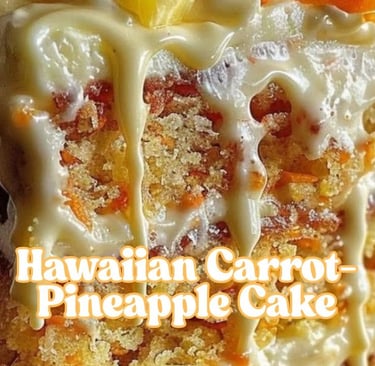
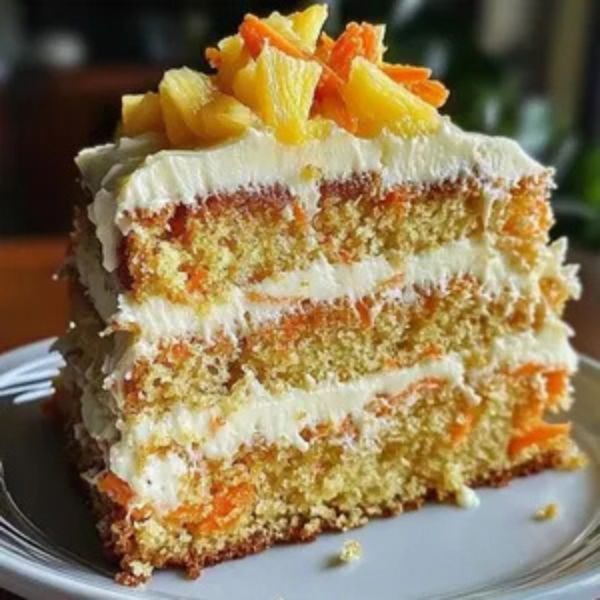
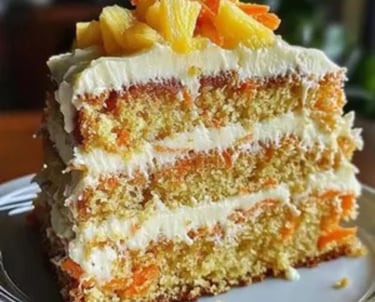
There’s something magical about the combination of sweet carrots, juicy pineapple, and warm spices in a Hawaiian Carrot-Pineapple Cake.
The balance of tropical flavors with a tender, moist texture makes it a dessert that feels like sunshine on a plate.
Whether you’re baking for a special occasion or simply satisfying your sweet tooth, this cake delivers perfection every time.
In this guide, you'll learn exactly how to recreate this crowd-pleasing favorite with simple, step-by-step instructions that guarantee success.
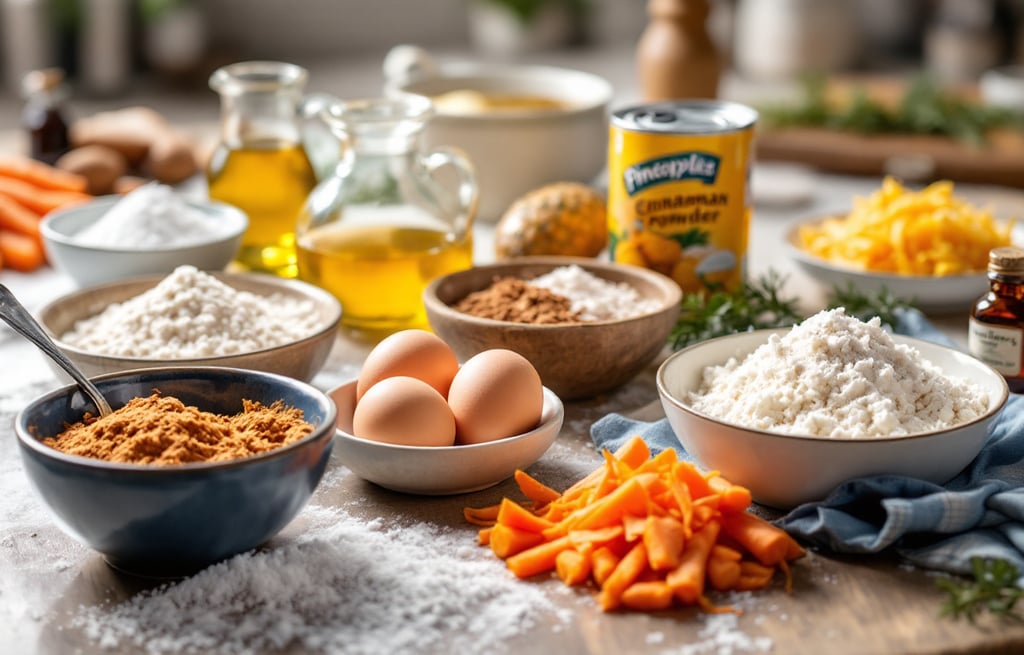
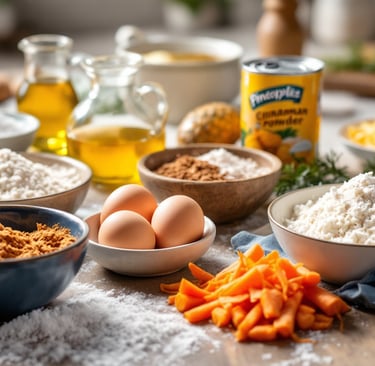
Core Ingredients for the Cake Base
Every great cake begins with a solid foundation. The base ingredients in a Hawaiian Carrot-Pineapple Cake are straightforward but essential for achieving a soft, moist crumb and consistent flavor. Here’s what you’ll need:
All-purpose flour: The backbone of the cake’s structure. Be sure to measure it correctly by spooning it into your measuring cup and leveling it off.
Granulated sugar: Adds sweetness and helps maintain moisture in the cake.
Baking powder: Helps the cake rise just right—no one wants a flat cake!
Baking soda: Works alongside baking powder for additional lift and texture.
Salt: A little salt enhances the sweetness and balances the overall flavors.
Cinnamon: Adds warmth and spice to complement the tropical ingredients.
Nutmeg: A gentle, cozy kick that works beautifully with the cinnamon.
Vegetable oil: Adds rich moisture without overpowering the flavor.
Eggs, beaten: Acts as a binder while also contributing richness and structure.
Vanilla extract: The invisible hero—it ties all the flavors together.
These ingredients form the “canvas” of the cake, a simple background against which the tropical elements can truly shine.
Tropical Additions: Pineapple, Coconut, and Carrots
Now, let’s get to the stars of the show: the tropical ingredients that transform this cake into something unforgettable. Each one brings a distinct personality while working harmoniously with the others.
Crushed pineapple (with juice): Pineapple is the juicy burst of tartness every bite needs. The canned variety works perfectly here—just make sure you use both the fruit and the juice to avoid a dry cake.
Grated carrots: Skip pre-shredded carrots and grate fresh ones instead. The natural sweetness and moisture they provide are unparalleled, leaving the cake soft and flavorful.
Shredded sweetened coconut: Adds chewy texture and a tropical flair that amplifies the overall flavor.
These ingredients don’t just add flavor—they also introduce moisture. Together, they help ensure that the cake is dense yet tender, with no need for heavy frostings or fillings. It’s pure tropical goodness in every bite.
Optional Additions to Elevate Your Cake
While the classic recipe is outstanding on its own, there’s always room to add a personal twist. A handful of extra ingredients can add richness, crunch, or just that little something special. Here are a few options to consider:
Chopped walnuts or pecans: These nuts bring a nutty, buttery crunch to the cake. Toast them beforehand for an even deeper flavor.
Coconut flakes on top: Toast some extra coconut flakes for a finishing touch that’s eye-catching and delicious.
Zest from one orange: For an extra pop of citrus, a bit of grated orange zest can brighten the entire cake.
These optional ingredients let you customize the cake to your liking, whether you’re after more texture, a hint of citrus, or just a bit more decadence.
By combining these essentials and optional flourishes, your Hawaiian Carrot-Pineapple Cake will be packed with flavor and designed to impress.
Once the ingredients are gathered, you’re just a few steps away from baking the perfect slice of tropical bliss!
Step-by-Step Instructions for Baking
Baking the perfect Hawaiian Carrot-Pineapple Cake isn’t just about following a recipe.
It’s a process that requires attention to detail at every step.
From prepping ingredients to cooling and decorating your masterpiece, each stage plays a pivotal role in creating a moist, flavorful cake.
Let’s break it down into simple, actionable steps to ensure your cake comes out perfect every time.
Prepping Your Ingredients and Equipment
A successful bake starts with preparation. Before you turn on the oven or grab your mixing spoon, make sure you have everything ready to go. It saves time and ensures you don’t miss a critical step.
Measure accurately. Baking is a science, and small inaccuracies can lead to dry or dense cake. Use measuring cups for dry ingredients and liquid measuring cups for wet ones. Level off dry ingredients with a flat edge for precision.
Prepare your carrots and pineapple. Freshly grated carrots add superior moisture and sweetness. For the pineapple, drain if it’s overly juicy, but keep some of the liquid—it helps with texture.
Bring ingredients to room temperature. Cold eggs and oil don’t incorporate as smoothly. Pull out these items 30 minutes before starting.
Grease and line your pan. A properly prepped cake pan ensures easy release. Grease it with butter or a non-stick spray. Then line the bottom with parchment paper for extra security.
Preheat your oven. Studies show the preheating step isn’t just habit—it ensures even baking. Set your oven to 350°F (175°C) and give it time to fully heat.
The key here is that a little forethought now eliminates surprises later. It’s like setting the stage for a show—the more prepared you are, the smoother everything will go.
Mixing the Perfect Batter
When it comes to combining your ingredients, patience and technique make all the difference. Mixing too much or too little can ruin the texture, so follow these simple steps to get it just right.
Mix the dry ingredients. In a large bowl, whisk together the flour, sugar, baking powder, baking soda, salt, cinnamon, and nutmeg. This ensures the leavening agents and spices are evenly distributed.
Blend the wet ingredients. In a separate bowl, whisk together the eggs, oil, vanilla extract, and pineapple juice (if available). The liquid base should be smooth and well combined.
Add the wet to the dry. Pour the wet mixture into the dry ingredients. Gently fold them together using a spatula or wooden spoon. Overmixing will activate the gluten in the flour, which can make the cake dense.
Incorporate the star ingredients. Finally, fold in the grated carrots, crushed pineapple, and shredded coconut. These ingredients add moisture and flavor to the batter, so handle them with care.
The goal is to create a batter that’s smooth yet slightly textured. Think of it like blending colors on an artist’s palette—everything should come together harmoniously without being overworked.
Ingredients:
2 cups all-purpose flour
2 teaspoons baking soda
1 1/2 teaspoons ground cinnamon
1/2 teaspoon ground nutmeg
1/2 teaspoon salt
1 cup vegetable oil
1 cup granulated sugar
1 cup brown sugar, packed
4 large eggs
2 teaspoons vanilla extract
3 cups grated carrots
1 cup crushed pineapple
1 cup shredded coconut
1 cup chopped walnuts or pecans
Fluffy Cream Cheese Frosting
16 oz cream cheese, softened
1 cup unsalted butter, softened
6 cups powdered sugar
2 teaspoons vanilla extract
1/4 cup heavy cream
Garnish
Finely grated raw carrots
Piped dollops of frosting
Finely chopped nuts
Directions:
Preheat your oven to 350°F (175°C) and grease three 9-inch round cake pans.
Prepare the Cake Batter
In a medium bowl, whisk together the flour, baking soda, cinnamon, nutmeg, and salt.
In a large bowl, beat the oil, granulated sugar, and brown sugar until well combined. Add the eggs one at a time, beating well after each addition. Stir in the vanilla extract.
Personal Tip: Adding the eggs one at a time helps to create a lighter batter by incorporating more air.
Gradually add the dry ingredients to the wet ingredients, mixing just until combined. Fold in the grated carrots, crushed pineapple, shredded coconut, and chopped nuts.
Bake the Cakes
Divide the batter evenly among the prepared cake pans. Bake for 25-30 minutes, or until a toothpick comes out clean. Cool in the pans for 10 minutes, then transfer to wire racks to cool completely.
Personal Tip: Rotate the cake pans halfway through baking to ensure even cooking. Cooling the cakes in a draft-free area will help prevent them from drying out too quickly.
Prepare the Fluffy Cream Cheese Frosting
In a large bowl, beat the cream cheese and butter together until smooth. Gradually add the powdered sugar, then beat in the vanilla extract and heavy cream until fluffy.
Personal Tip: Beating the cream cheese and butter together for a few extra minutes will make the frosting fluffier and lighter.
Assemble the Cake
Place one cake layer on a serving plate and spread a generous layer of cream cheese frosting on top. Add the second cake layer and repeat. Top with the third layer and frost the entire cake.
Personal Tip: Chill the cake for 10-15 minutes after each frosting layer to help set the frosting and prevent the layers from sliding.
Garnish with finely grated raw carrots, piped dollops of frosting, and chopped nuts.
Storing Your Cake for Maximum Freshness
Baking a cake feels like a labor of love, so naturally, you want to preserve that effort. Proper storage not only helps maintain the cake’s texture and flavor but also keeps it safe to eat for days (or even weeks, if frozen!). Here’s how to store your Hawaiian Carrot-Pineapple Cake like a pro:
For Short-Term Storage (1–3 Days):
Keep your cake soft and fresh on the countertop by using these techniques:
Cover it tightly: Use plastic wrap to cover the entire cake or individual slices to seal in moisture. If the cake is frosted, place it inside a cake dome or tightly wrap plastic wrap around the edges of the plate to avoid smudging the top.
Store at room temperature: If your house isn’t overly warm, you can leave the cake on the counter for up to 2–3 days. The key is keeping it out of direct sunlight and away from heat sources.
Skip refrigeration if possible: The fridge can dry out cakes, especially ones with a tender, moist crumb like this. Only refrigerate if you’ve used perishable toppings (like fresh fruit).
For Longer Storage (4+ Days to a Few Weeks):
If you know your cake won’t be eaten quickly, refrigeration or freezing can extend its life while preserving its tropical deliciousness.
Refrigeration tips:
Wrap the cake tightly in plastic wrap or foil to lock in moisture.
Place it in an airtight container to protect it from absorbing odors.
Remove it from the fridge 30 minutes before serving to bring it back to room temperature for the best texture.
Freezing tips:
For extended storage, freezing is the way to go. Here’s how to do it without compromising flavor:
If unfrosted, double-wrap the cake tightly in plastic wrap and then foil.
For frosted cakes, freeze them uncovered for 1–2 hours until the frosting hardens, then wrap them securely in plastic wrap and foil. This prevents smudging.
Label the packages with the date so you know when it’s time to thaw and enjoy. Cakes can be frozen for up to 2 months.
Thaw overnight in the refrigerator or at room temperature for a quick serving option.
By storing your Hawaiian Carrot-Pineapple Cake correctly, you’ll ensure that every slice, whether eaten tomorrow or weeks from now, tastes just as delightful as the first bite.
Conclusion
Baking the perfect Hawaiian Carrot-Pineapple Cake is as much about the joy of creating as it is about savoring the final result.
This cake combines the earthy sweetness of carrots, the tropical brightness of pineapple, and the cozy warmth of spices into a dessert that feels like a mini getaway with every bite.
With the right ingredients, techniques, and a little patience, you’re set to impress your family, friends, or even just yourself with a cake that truly delivers.
Now’s the time to gather your ingredients, preheat your oven, and let your kitchen fill with those irresistible tropical aromas.
Ready to bring a slice of paradise to your table? Grab your spatula, and don’t forget to share your baking adventure—and a photo of your masterpiece—with those who’ll appreciate (and devour) it!
Southern Spice Homestyle Delights © 2025. All rights reserved.
Address
Rayville, La 71269
Want more from Southern Spice?


Get recipes, cooking inspiration, and exclusive information right to your inbox!
Categories