Southern Spice Homestyle Delights
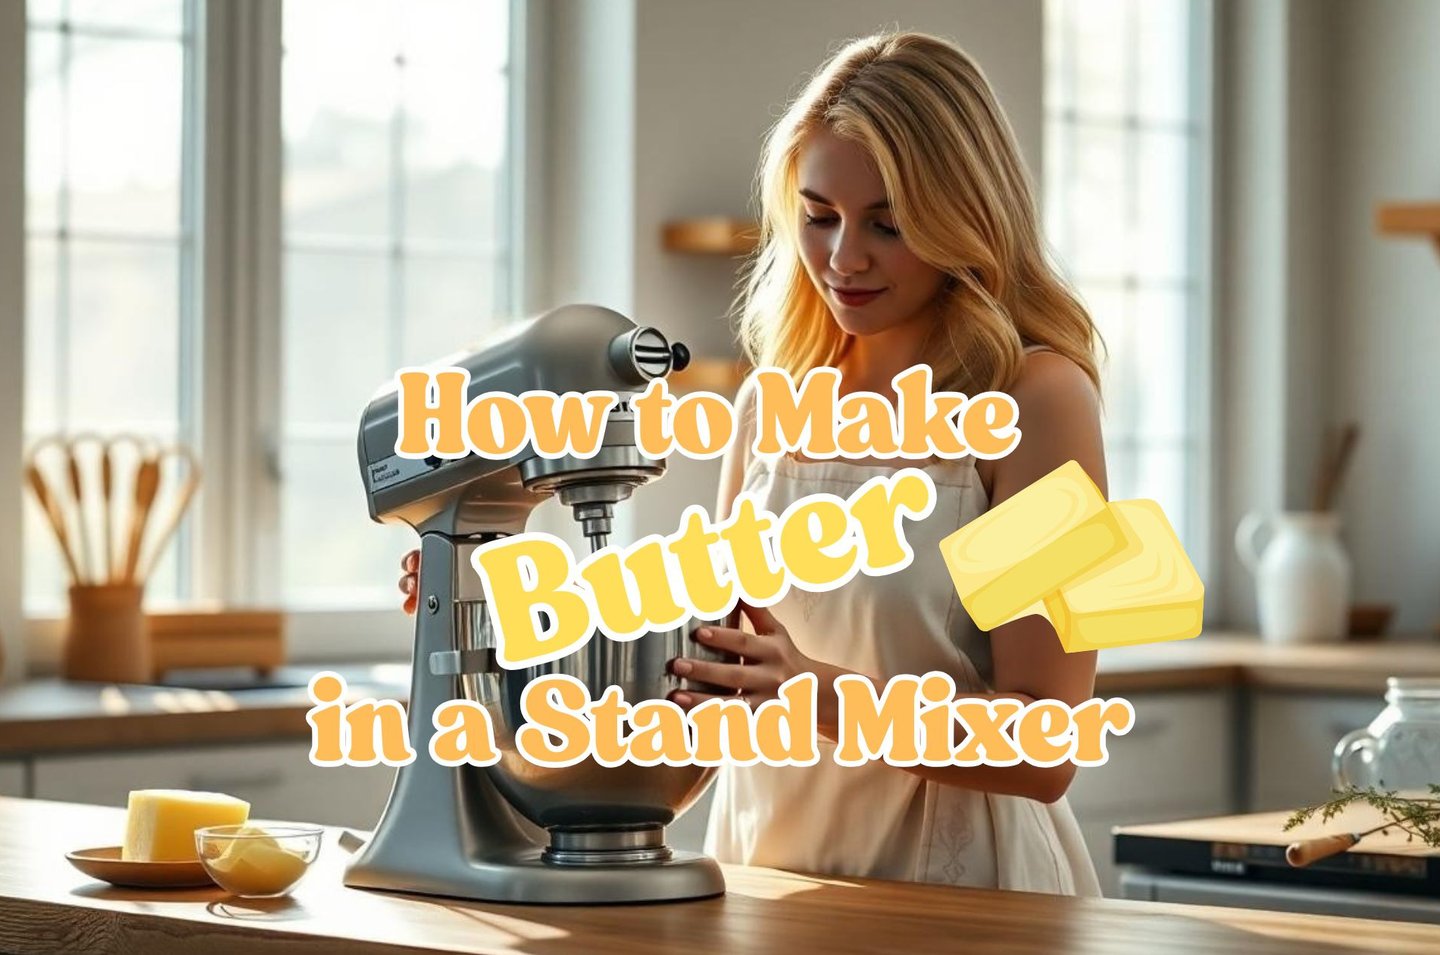
How to Make Butter in a Stand Mixer: Easy Steps for Fresh Homemade Butter
Discover how to make butter in a stand mixer with this easy guide. Enjoy fresh, homemade butter in minutes with just a few basic ingredients.
KITCHEN TIPS & TECHNIQUESRECIPES & COOKING
Shari Smith
6/15/202511 min read
This post may contain affiliate links, and I may earn a commission if you choose to make a purchase through them.
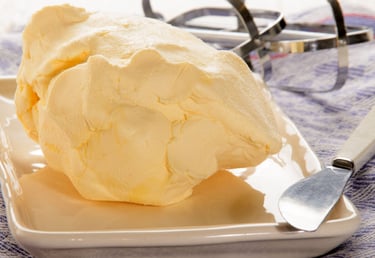
If you’ve ever tasted homemade butter, you know it’s a world apart from anything that comes in a box.
Making butter in a stand mixer is surprisingly simple and takes only a few steps.
You’ll start with heavy cream and end up with fresh, creamy butter you can shape, salt, and enjoy the way you like.
When you use a stand mixer, you skip the hard work and messy cleanup of other methods. Plus, making your own butter lets you control every ingredient for a healthier, cleaner spread.
This post will show you how to make butter in a stand mixer so you can enjoy a fresh, rich taste at home anytime.
Why Make Butter at Home with a Stand Mixer?
If you want butter that’s fresher than anything at the store and tailored to your taste, making it at home is the way to go.
A stand mixer takes the hassle out of the process and makes "how to make butter in a stand mixer" a kitchen skill anyone can pick up.
Let’s look at why it’s worth giving homemade butter a try, especially when your stand mixer does the heavy lifting.
Enjoy Exceptional Freshness
Store-bought butter can’t match the taste and texture of butter made right before your eyes.
Fresh butter is:
Richer and creamier, with a clean dairy flavor.
Perfect for spreading on warm bread or adding to recipes for extra depth.
Free from any “fridge” flavor you sometimes get with pre-packed sticks.
The freshness isn’t just about taste. Butter made at home also keeps its bright color and soft texture longer than blocks that have sat on shelves for weeks.
Control Every Ingredient
When you learn how to make butter in a stand mixer, you get to decide what goes in—and what stays out.
Use only high-quality cream, so you know exactly what you’re eating.
Skip preservatives, artificial flavors, and hidden additives.
Add sea salt or flavors (like honey or herbs) for a custom blend.
Adjust salt levels to suit your diet and taste.
With this control, your butter fits your needs and style. You never need to settle for “almost right” again.
Save Money in the Long Run
Creating your own butter can be cheaper than premium brands at the store, especially if you buy cream in bulk or on sale.
Here’s why:
A single pint of heavy cream often costs less than gourmet butter.
Add-ins like salt or herbs are cheap and go a long way.
No more paying extra for “fancy” butter at the supermarket.
With a stand mixer, making butter is efficient. No need to buy pricey specialty butters; you can whip them up at home on demand.


Experience the Simple Joy of Homemade
Making butter is surprisingly satisfying.
There’s something special about seeing cream transform from liquid to rich, golden butter in just a few minutes.
It connects you to traditional kitchen skills, but with a modern shortcut.
Kids love watching the change and helping out with shaping or seasoning.
Sharing your homemade butter at the table creates a feeling of abundance and care.
You don’t need old-fashioned butter churns or hours of shaking. The stand mixer makes the process quick, mess-free, and fun.
Why the Stand Mixer Is a Game Changer
Forget shaking jars or hand-whisking for ages. The stand mixer makes "how to make butter in a stand mixer" almost effortless.
The powerful motor does the hard work, so your arms get a break.
Large bowl capacity lets you make bigger batches at once.
Easy to clean, with less splatter than traditional churns or blenders.
Consistent results every single time.
With the push of a button, you can make fresh butter for toast, baking, or dinner guests. The stand mixer brings this traditional skill into the present—simple, clean, and quick.
Whether you crave better flavor or just want to try something new in your kitchen, making butter in a stand mixer is one of the fastest ways to get started.
It brings together freshness, control, savings, and joy in a way that’s hard to beat.
Essential Equipment and Ingredients
Having the right equipment and the freshest ingredients makes all the difference when learning how to make butter in a stand mixer.
The process is simple, but a few key tools and quality cream guarantee that your homemade butter turns out rich and delicious without any hiccups.
Here’s everything you’ll need before you begin.
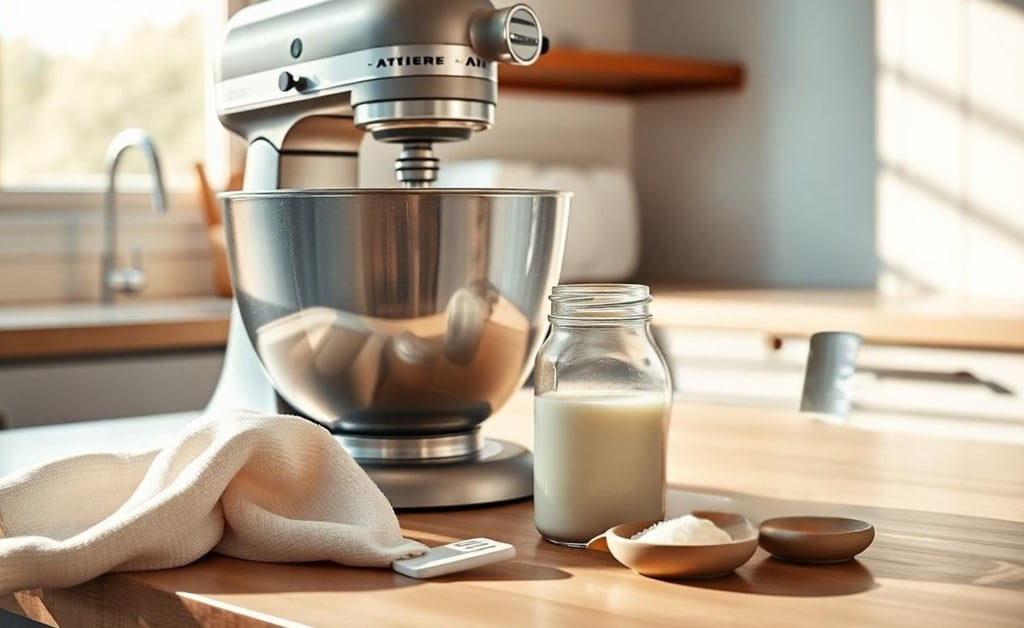
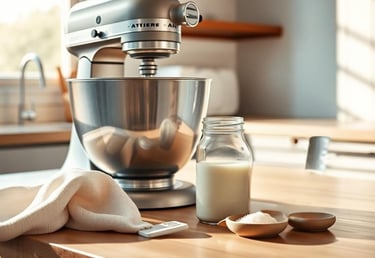
Stand Mixer with Whisk Attachment
You can’t make butter in a stand mixer without, well, a stand mixer. Any reputable brand will do as long as it has enough power to whip heavy cream for several minutes without struggling. The whisk attachment is usually the best for this job since it introduces plenty of air and breaks down the cream quickly.
Pro tip:
Make sure your bowl and whisk are clean, dry, and cool before starting. This helps the cream whip more efficiently and speeds up the process.

Heavy Cream
Heavy cream is your one main ingredient, and the kind you choose affects the flavor and texture of your butter.
Choose cream labeled “heavy cream” or “heavy whipping cream.” Look for a fat content of at least 36% for rich, spreadable butter.
The fresher, the better. Use cream that’s been in your fridge just a few days, not weeks.
Avoid “ultra-pasteurized” cream if possible. While it works, regular pasteurized yields a sweeter, fresher flavor.
Bonus points if you can get local cream or one listed as “non-homogenized” for a taste closer to old-fashioned butter.
Salt (Optional)
Salt doesn’t just add flavor—it can also help preserve your butter. Use fine sea salt or kosher salt to season your butter to taste.
Start small: Add a pinch at a time after the butter forms. You can always add more, but you can’t take it out.
Customize: Try other seasonings for flavored butter, like garlic, herbs, or honey.
Mixing Bowl
You’ll need a sturdy mixing bowl, ideally the one that comes with your stand mixer.
A large bowl reduces splatter as the cream thickens and then suddenly turns to butter.
Spatula
A good, flexible spatula helps scrape every bit of butter from the bowl and bring it together into a smooth ball.
Soft, silicone spatulas work best for gathering the sticky curds.
You’ll also use the spatula to help wash and shape the butter at the end.
Cheesecloth or Fine Mesh Strainer
After whipping, you’ll be left with butter and a milky liquid called buttermilk. It’s important to strain the buttermilk out completely for the longest shelf life and best texture.
Cheesecloth: Fold it over and use it to squeeze out the extra liquid from your butter.
Fine mesh strainer: If you don’t have cheesecloth, a strainer works just as well for pressing and draining.
Step-by-Step Guide:
How to Make Butter in a Stand Mixer
Once you have your ingredients and equipment ready, you're just minutes away from tasting real homemade butter.
These steps break down exactly how to make butter in a stand mixer, with tips for getting it right on the first try.
Preparing the Cream
The results start with your cream’s temperature and fat content. Both matter more than you might think.
Fat content: Use heavy cream or heavy whipping cream with at least 36% fat. Lower-fat cream may not separate as well and your butter will be less rich.
Temperature: For best results, start with cream right around 60°F (15°C). This is usually “cool room temperature”—not straight from the fridge, but not warm either.
Why not cold? Ultra-cold cream takes much longer to whip and can lead to chunky, uneven butter. If your cream is too warm, the fat starts to melt, and the butter can turn greasy.
How to get it right:
Let your cream sit out of the fridge for 30-60 minutes.
Gently swirl or stir it so the warmth is even.
If using ultra-pasteurized cream (which is common in stores), let it warm on the counter a bit longer, as it separates slower than non-pasteurized.
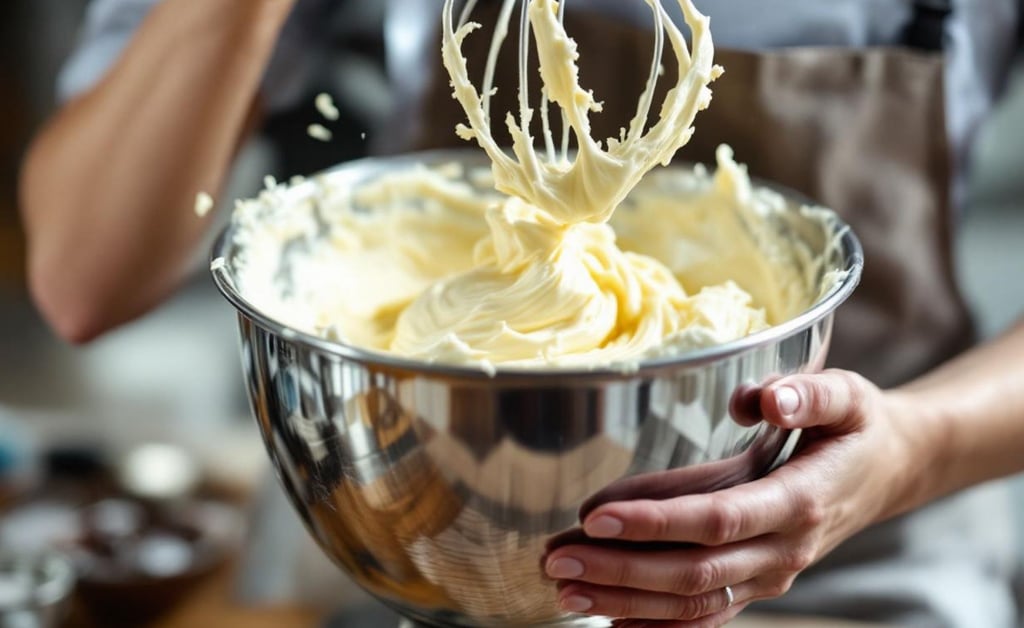
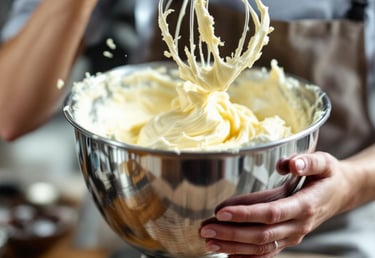
Whipping the Cream to Butter Stage
You’re ready to start the mixer. Here’s how to make butter in a stand mixer, step by step:
Pour 2-4 cups of prepared cream into your cold mixer bowl.
Attach the whisk, set the mixer to medium or medium-high speed.
Watch carefully: In the first few minutes, the cream will thicken and turn into whipped cream—fluffy and light.
Keep mixing: Soon, you’ll hear a change in sound as the whipped cream thickens and the fat separates from the liquid.
Visual cues for each stage:
Whipped cream stage: Soft peaks, holds its shape. If you want whipped cream, you’d stop here.
Butter stage: The mixture suddenly looks grainy, curdled, and wet. Bright yellow clumps start to form, and liquid buttermilk will splash at the bottom.
After 5-8 minutes, you’ll see the butter separate from the buttermilk. If your mixer splatters, cover it with a tea towel.
Common mistake:
Stopping too soon! Keep mixing after the whipped cream stage. You want visible golden butter clumps in a pool of milky liquid.
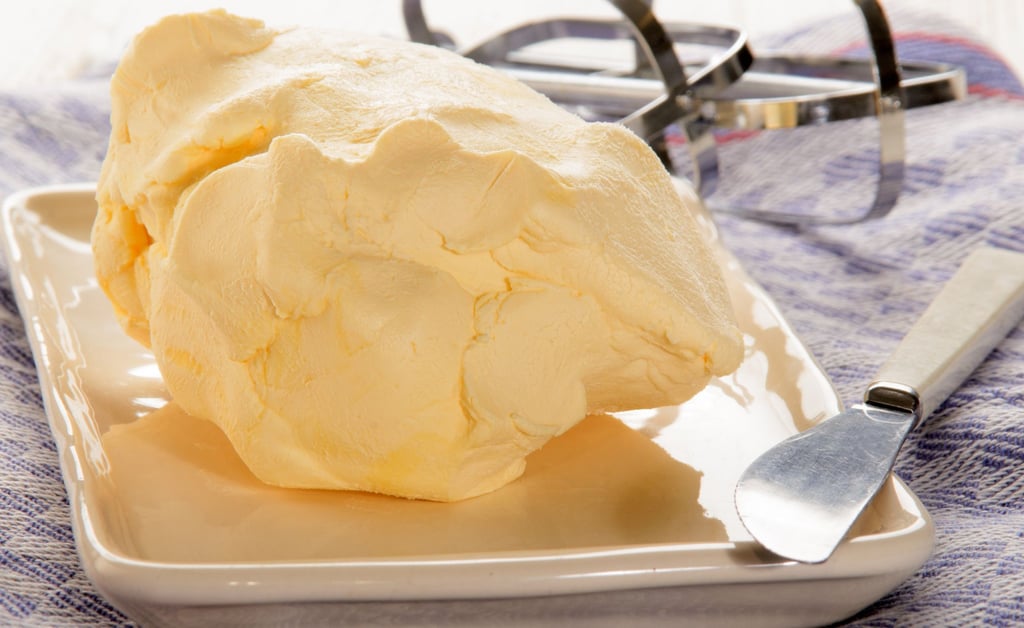
Separating and Washing the Butter
Now that you have fresh butter and buttermilk, it’s time to finish the job.
Pour off the buttermilk: Place a fine mesh strainer or cheesecloth over a bowl, then pour the mixer’s contents through to catch the butter.
Gather the butter: Use a spatula to press the butter against the strainer, squeezing out as much buttermilk as you can.
Wash the butter: Rinse the clump of butter under cold running water while gently pressing and folding it. Repeat until the water runs clear.
Why wash butter? Any leftover buttermilk can spoil quickly and give your butter a sour taste.
Tips for smooth, creamy butter:
Work quickly so the butter doesn’t melt. Cold hands help.
Press, fold, and rinse the butter several times.
Use a spatula or your (clean) hands to press out every bit of liquid.
If the butter is sticky or slimy, keep rinsing. Washed butter stays fresh longer and spreads better.
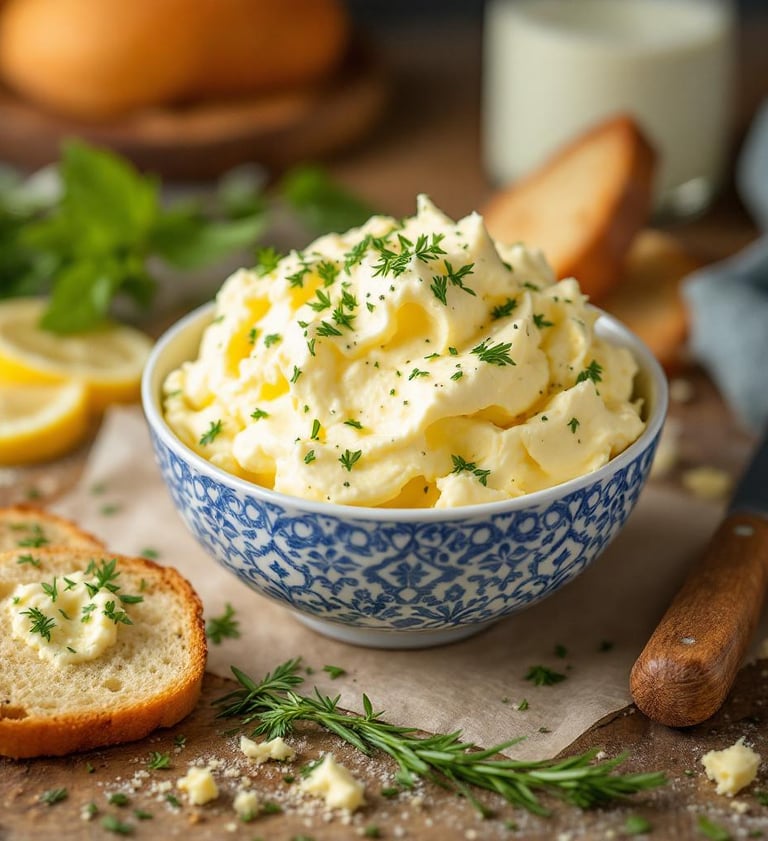
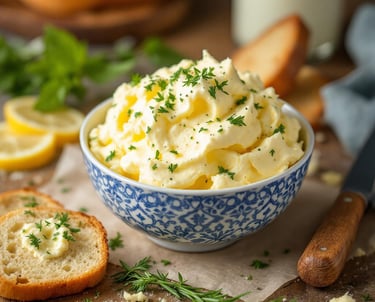
Salting and Storing Your Homemade Butter
This is the fun part—seasoning and storing your butter for maximum flavor and freshness.
Optional salting: Sprinkle in fine salt to taste (start with 1/4 teaspoon per 1/2 cup butter). For even flavor, use a spatula or wooden spoon to knead the salt all through the butter.
Add flavors: Feel free to add roasted garlic, fresh herbs, honey, or lemon zest. Fold them in after rinsing.
Shape: Scoop the butter onto a piece of parchment or plastic wrap. Roll and press into a log or pat.
Best practices for storage:
Short-term: Wrap your butter tightly and keep in an airtight container in the fridge. It stays fresh about 1-2 weeks.
Long-term: For longer storage, freeze slices or logs of butter. Homemade butter freezes well for up to 3 months. Cut into small pieces before freezing so you can thaw just what you need.
Homemade butter may pick up fridge odors, so always keep it sealed well. A glass, ceramic, or food-safe plastic container works best.
Keep these steps close by every time you’re making butter in a stand mixer. Practice once and it gets even easier the next time.
Creative Variations and Uses
for Homemade Butter
Once you know how to make butter in a stand mixer, the real fun begins. Homemade butter is a blank slate for creativity in the kitchen.
You can flavor it, shape it, and use it in recipes that highlight its fresh, creamy taste. Simple tweaks turn your butter into an eye-catching spread for any meal.
Flavoring Your Homemade Butter
Fresh butter takes on flavors easily, letting you make spreads for every mood or meal.
Think about what pairs well with bread, vegetables, pasta, or even pancakes.
Here are some go-to flavor options to try:
Fresh Herbs: Chopped parsley, dill, chives, or basil can be stirred in for a bright, green look and garden-fresh taste.
Sweet Touches: Honey, maple syrup, or a dusting of cinnamon and sugar transform butter into something special for breakfast or dessert.
Heat and Spice: A bit of crushed garlic, black pepper, smoked paprika, or red pepper flakes makes a bold spread for grilled meats or corn on the cob.
Zesty Citrus: Grated lemon, lime, or orange zest adds freshness to seafood or roasted vegetables.
To flavor, let your butter soften at room temp, then mix in your chosen add-ins. Start small, taste, and add more if needed.
Shaping and Serving Suggestions
Butter you make yourself deserves a little attention when serving.
Beyond the basic pat or log, a little care with shaping makes it look as good as it tastes.
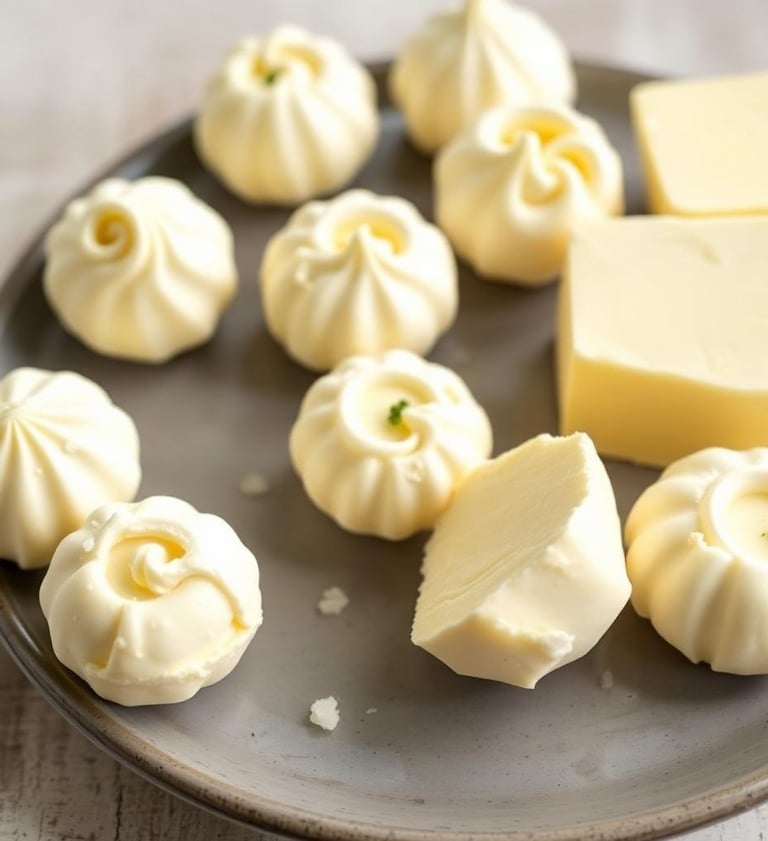
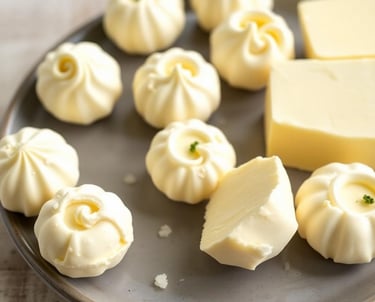
Try these simple ideas to make your butter stand out:
Butter Balls: Use a melon baller or two small spoons for small, round servings perfect for dinners or holiday tables.
Butter Rosettes: Fill a piping bag with softened, flavored butter and pipe small rosettes onto parchment. Chill until firm for a fancy touch.
Shaped Molds: Press your butter into silicone molds for hearts, flowers, or seasonal shapes. Release once chilled and set out for a fun spread.
Classic Log or Block: Roll butter in parchment for a classic French look. Slice just what you need for each meal.
Add a sprinkle of sea salt or herbs on top for even more impact on the plate.
Savory and Sweet Recipe Ideas
Once you’ve got a batch of homemade butter, you’ll find it adds a special touch to many dishes.
Try these ways to put it to good use:
On Warm Bread: Fresh crusty bread, biscuits, or scones get even better with a thick layer of homemade butter.
Cooking Veggies: Toss steamed green beans or carrots with herb butter for quick flavor.
For Grilling: Spread garlic or chili butter over grilled steak, chicken, or corn as soon as it comes off the heat.
Pasta Sauces: Stir lemon or basil butter into hot pasta for a bright and silky finish.
Baked Goods: Use sweetened or plain homemade butter in muffins, cookies, or pie crusts for rich, real flavor.
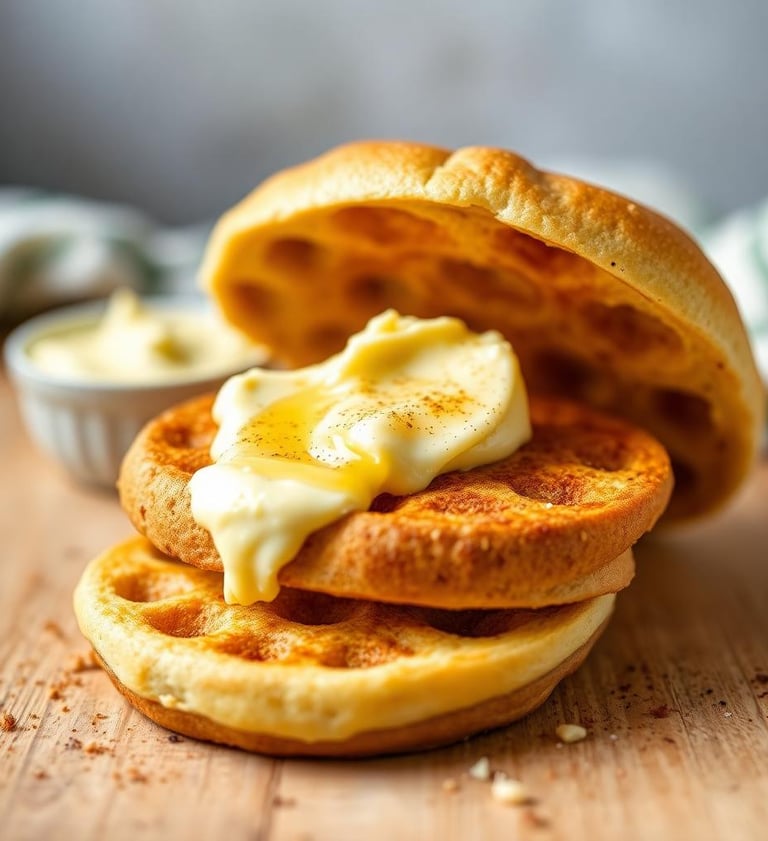
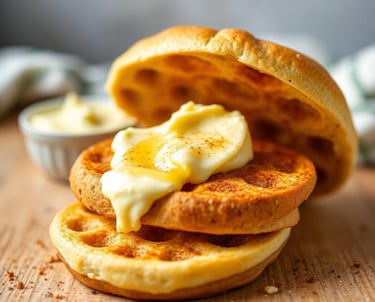
Pancakes and Waffles: Whip honey or cinnamon butter to slather on morning favorites instead of syrup.
Handling Stand Mixer Attachments
Mixers have nooks where butter can hide. Sticky attachments need an extra once-over:
Remove All Parts: Take apart your whisk or paddle and any removable mixer pieces.
Soak in Warm Soapy Water: Let attachments soak for 5-10 minutes to loosen fat.
Scrub with Care: Use a brush to clean wires, crevices, and where the attachment meets the shaft.
Air Dry Thoroughly: Let parts air dry completely before putting them away to avoid rust.
A little attention now means your mixer will be ready to go for your next batch.
Conclusion
Making butter in a stand mixer gives you fresh flavor, total control over ingredients, and that unbeatable homemade satisfaction.
With just cream and a little patience, you’ll never look at store-bought butter the same way. Give it a try and see just how easy “how to make butter in a stand mixer” can be.
If you give this a go, share your results or questions in the comments. Every kitchen is a little different, and your tips might help someone else.
Thanks for reading—can’t wait to hear about your butter-making adventures!
Southern Spice Homestyle Delights © 2025. All rights reserved.
Address
Rayville, La 71269
Want more from Southern Spice?


Get recipes, cooking inspiration, and exclusive information right to your inbox!
Categories